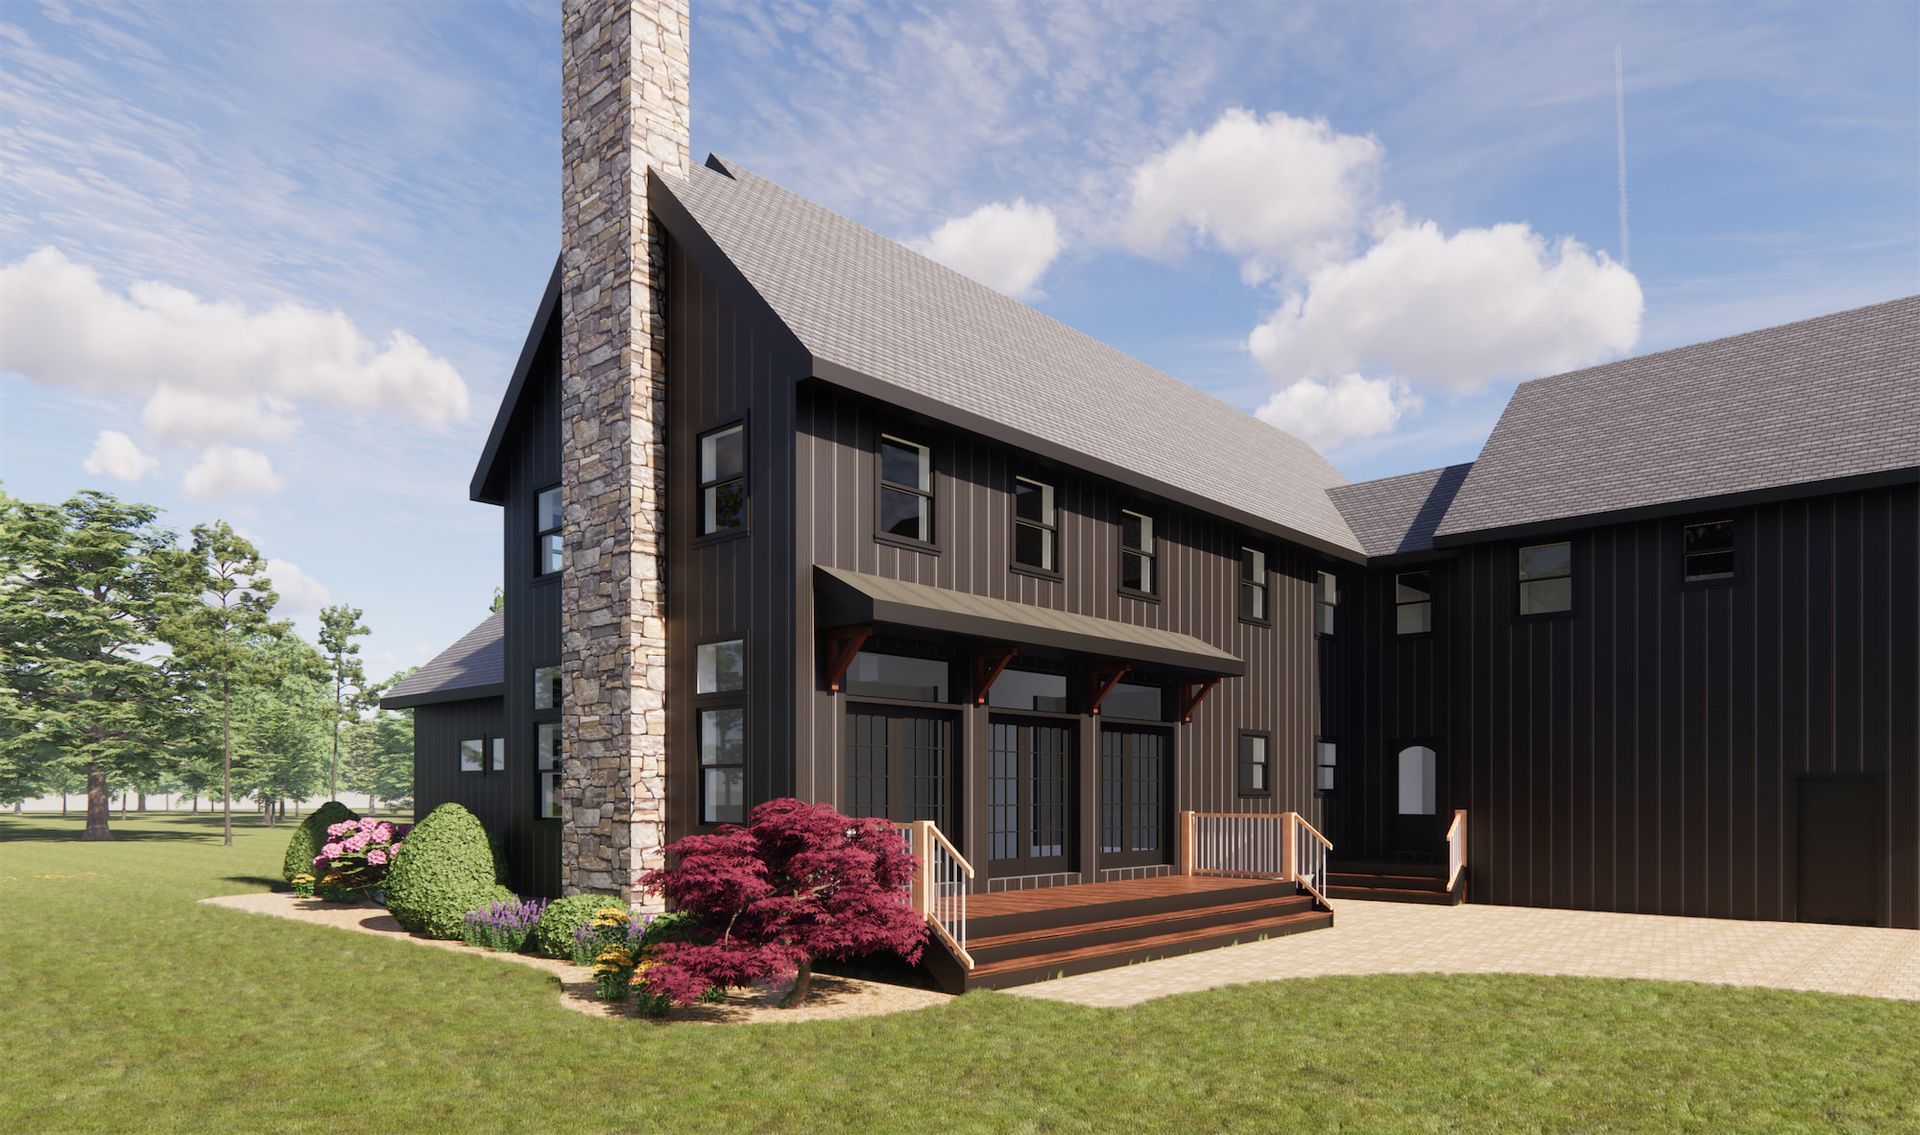
Adding Value to Your Siding Project with Rigid Insulation
Whether you are replacing the siding on your existing house or building a new house there is a very simple way to add value without large up-front costs and that is to add 1” to 2” of continuous rigid insulation over the plywood wall sheathing before the new siding is installed.
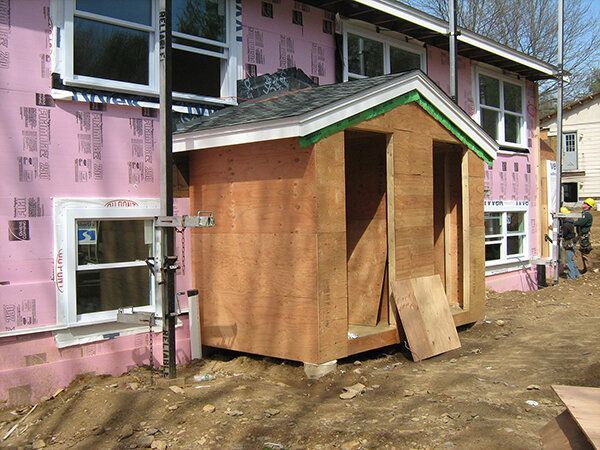
In wood framed houses insulation is installed in the cavity between the studs. This is an effective way of insulating your house but it leaves gaps, at each stud member where the transfer of conditioned air occurs through the wood. By adding rigid insulation to the exterior of your house these gaps get covered and your house gains the continuous insulation barrier that will save you money on both heating and cooling.
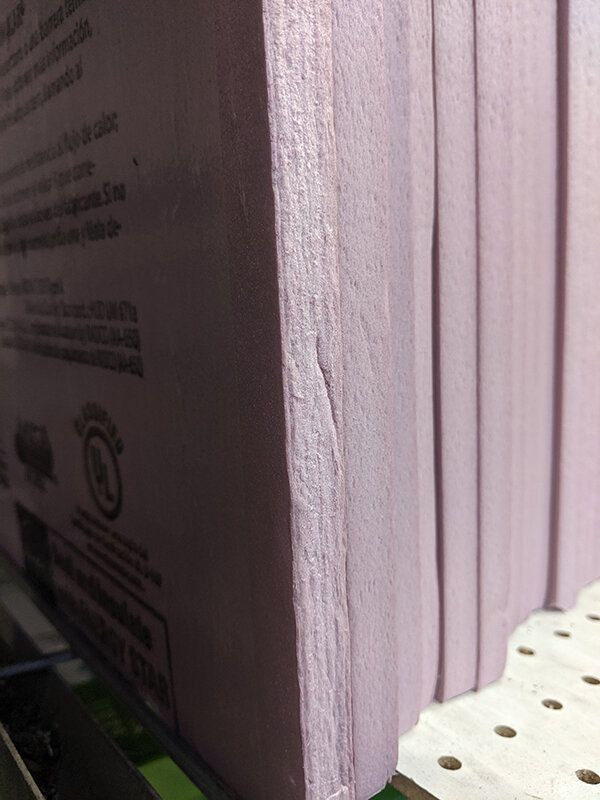
For most homeowners, I recommend installing 1” to 2” thick rigid insulation. Anything less than 1” will not provide you enough R-value to make any real difference and once you get over 2” there are special details that will need to be added to properly attach your siding.
Stay away from the 1/4" ‘accordion’ style rigid insulation sheets. Some contractors may try to convince you that is all that is needed, but that does not achieve the goal of increasing the energy efficiency of your house and reducing your heating and cooling costs.
What are the costs to install rigid insulation?
For a quick breakdown, an average 1,800 sf, 2-story colonial style house with a gable roof would have approx 3,500 sf of exterior wall service. This would require about 110 sheets of rigid insulation to cover all exterior walls (accounting for waste, but also not subtracting for windows and doors, so potentially less sheets would be needed) If you the homeowner were to go down to home depot and buy 1” thick sheets of rigid insulation, at the current advertised price of $19.55 / sheet that would equal $2,150 for the product. Most contractors will have better pricing while working with their suppliers and buying in bulk so the actual costs may be less. Now there will be additional costs for screws, caulking, tape to cover the joints, added flashing around the windows and doors and of course labor. Even if you bump up the cost of materials and figure in the labor, you are looking at a cost of $5,000 - $6,000 to add the continuous insulation. If you choose to go to 2” thick those costs may reach $8,000. The added benefit really comes in how much less money you will be paying to heat and cool your house.
Now, if you have the budget, and you want the best possible protection and the greatest amount of efficiency you can increase the thickness of the rigid insulation from 2” up to 4” thick. By doing this you create a very efficient envelope and will not have to sacrifice interior space as you would with a double stud wall.
Once you go over the 2” thickness just note that you will most likely have to switch to a rain screen system for your siding. In the rain screen construction vertical wood battens will be installed ontop of your rigid insulation and then the siding is secured to the wood battens. This creates an air space between the insulation and the siding. If your siding type is fiber cement, rather than vinyl than installing a rain screen system is recommended no matter how thick your rigid insulation is. The rain screen system not only allows you to increase the thickness of rigid insulation but it will increase the lifespan of your siding material. Just pay special attention to the flashing at the bottom of the wall.
In new house construction, or if you are renovating and want to get adventurous you can install the rigid insulation full depth all the way down the exterior of the foundation wall, underground to the depth of your footing. By doing so you will eliminate all thermal brakes (gaps) in your insulation coverage for your exterior wall. The portion of the rigid insulation that is exposed (below the bottom of your siding) will get covered up with a protection board that can be painted.

I hope you find these tips helpful, my goal is to provide education and value to all homeowners.
Chris Novelli - n3 architecture